This short tutorial shows how to set up LWRP and 2D renderer.
Unity 2019.2 introduces new 2D features in Lightwave Render Pipeline (LWRP). For me, the most noticeable are 2D lights. Along with new ability to add secondary textures directly in Sprite editor it is now easy to create 2D game with lights and normal maps.
This short tutorial only shows how to set up LWRP and 2D renderer. I decided to create separate tutorial I can later reference to from others more complex ones.
LWRP for new project
Easy way is to start new project. In such a case, select LWRP template when creating new project and LWRP package is installed for you. You will still need to setup 2D renderer, but you can skip next section.
LWRP for existing project
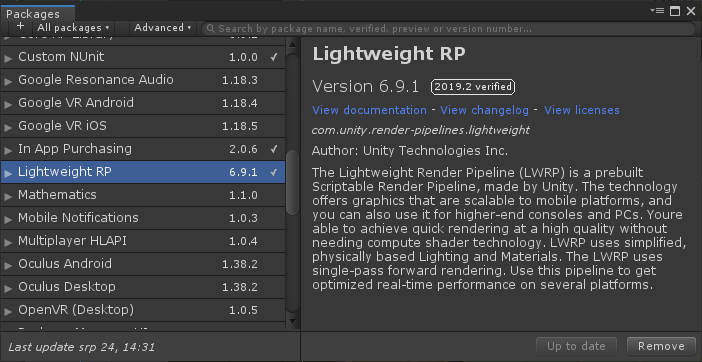
If you already have project and want to use new features like 2D lights, you have to install LWRP manually. Go to Window -> Package Manager and install Lightwave RP package. It automatically installs some other Unity features like Shader Graph, Postprocessing Stack and Pixel Perfect camera.
With package installed, you have to create Pipeline Asset. It is scriptable object with graphics settings for your project. I recommend to create new folder in assets with name Rendering. Then right-click in it and choose Create -> Rendering -> Lightwave Render Pipeline -> Pipeline Asset.
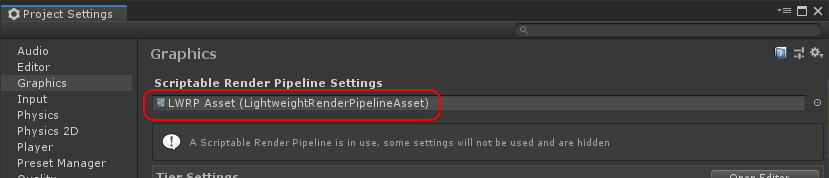
Go into Edit -> Project Settings, choose Graphics tab and drag your new created Pipeline Asset into slot for Scriptable Render Pipeline Settings:
Setup 2D Renderer
Go into Rendering folder again (or create new one, if you started new project) and right-click to create new renderer. It is again scriptable object with some renderer settings. Choose: Create -> Rendering -> Lightwave Render Pipeline -> 2D Renderer (Experimental)
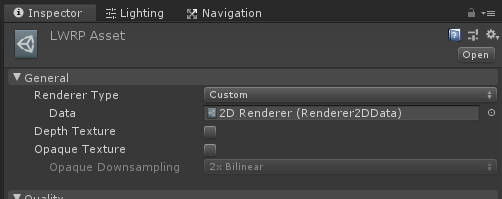
Now select your Pipeline Asset and in inspector on very top, in General section, change Renderer type to Custom. It will open new field named Data. Drag your 2D Renderer into it.
If you started new project and need to find currently used pipeline asset, open Edit -> Project Settings and go into Graphics tab. In Scriptable Render Pipeline Settings you will find it.
Conclusion
Now, your project is set to use 2D lights. We decided to use this new feature in our Sword & Fortune game to give it more depth.
